We’re excited to announce the release of our Marble Blast Creation Pack for TrenchBroom, a cross-platform level editor for Quake engine games.
TrenchBroom is a total game-changer. It’s easy to use and is a major upgrade over older level editors, offering many simple and advanced tools for creating complex and interesting levels quicker and with ease.
For Marble Blast level creation, TrenchBroom is an excellent choice. However, if you’re looking to create perfectly smooth curves and rounded terrain like Polysoup, you should use Blender or other 3D modeling software. TrenchBroom is primarily designed for brush-based engines like Quake and isn’t intended for full-on 3D modeling.
This article is just to help you get TrenchBroom set up for Marble Blast. It is not intended to teach you how to map, and it isn’t a tutorial either. If you’re new to it, don’t worry, there are some awesome tutorials by dumptruck_ds on YouTube that break things down and make it super easy to learn. Definitely check those out!
A heartfelt thank you to MattP and xaGe for their contributions, as well as Katie and Mikael for their efforts in testing! 🩷
Getting Started
Grab TrenchBroom: Download the latest version of TrenchBroom and extract it to C:\Apps\TrenchBroom.
Get the Creation Pack: Download the Marble Blast Creation Pack and extract the “games” folder to the same folder as TrenchBroom: C:\Apps\TrenchBroom. Next, extract the Roaming folder to C:\Users\your username\AppData.
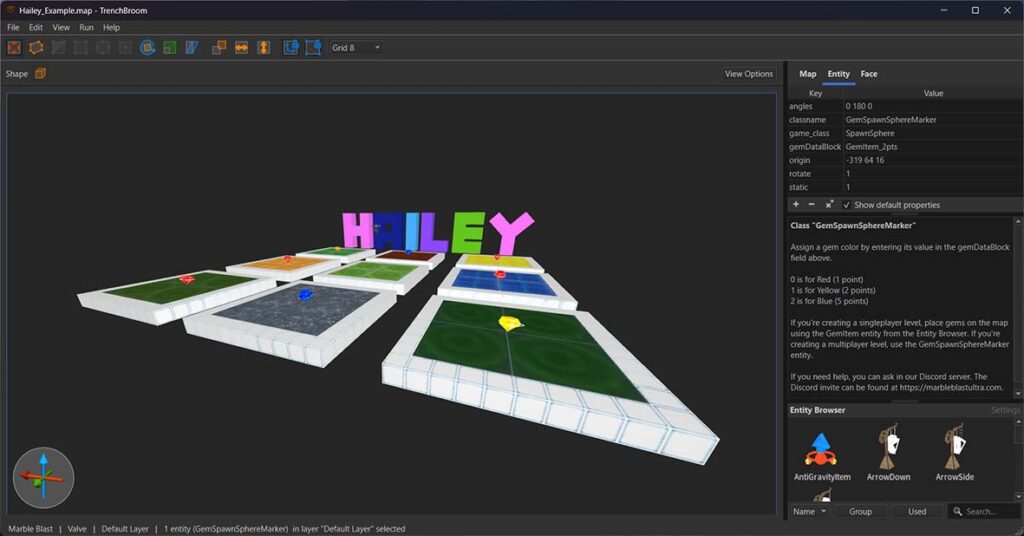
Launch TrenchBroom: Once you’ve opened TrenchBroom, hit Browse, then go to C:\Apps\TrenchBroom\games\MarbleBlast\Maps (you should save your maps here). Open the example map called Hailey_Example.map. Your TrenchBroom should now look like this:

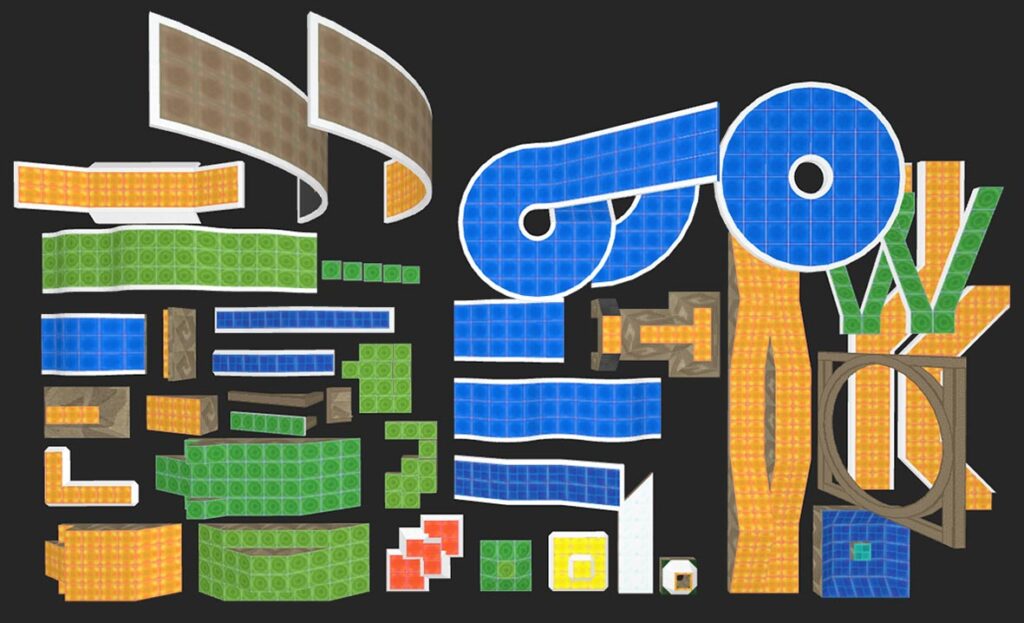
Premade Assets: Hailey_Example.map is a solid starting point for level editing. It’s perfect for getting familiar with the tools or for copying and pasting parts into your own map to save time. The map comes with a range of assets you can use, tweak, and adapt however you like. We’ll continue adding more assets in the future to help make building maps quicker and more efficient.

Compile Your Map: Be sure to save any changes to the map, or else they won’t be compiled. To compile the map, click Run > Compile Map. This will create a Hailey_Example.dif file in C:\Apps\TrenchBroom\games\MarbleBlast\OpenMBU\marble\data\missions\custom\Hailey_Example.
Playtest Your Map: Once it’s finished compiling, click Launch, choose the Marble Blast Launch Engine, then hit Launch again, or just double-click MarbleBlast. This will launch a light version of OpenMBU, auto-generate a .mis file for your map, and drop you straight into the level. If everything’s set up right, it should look like this:

Congrats, you’re all set!
You might notice that the premade assets aren’t visible in the level. This is because they’re grouped in TrenchBroom, and the compiler, map2dif, currently doesn’t support grouped objects. To compile grouped objects, make sure to ungroup them before compiling.
You can ungroup everything at once by selecting all objects with the shortcut Ctrl + A, then right-clicking anywhere in the viewport and choosing Ungroup Selected Objects, or by using the shortcut Ctrl + Shift + G. After compiling, you can undo the ungrouping so you don’t have to manually regroup everything.
Using Custom Textures: If you plan on using custom textures for your map, you’ll need to assign them in a .MAT.JSON file. This file must have the same name as your .dif file. For reference, take a look at Hailey_Example.mat.json, located in the same folder as your compiled Hailey_Example.dif file. Make sure to place your custom textures in the same folder as your level. You’ll also need a 64 x 64 resolution copy of the textures in the TrenchBroom\games\MarbleBlast\assets\textures folder so they can be used within TrenchBroom.
By default, the Marble Blast Creation Pack includes several solid color textures that are perfect for creating glow effects on edges or other areas. A great example of this can be seen in the level below, Skate Park Retro, where the glow effects are used to add a striking visual flair.
Just had so much fun playing with my sister on a level I designed called Skate Park Retro 💗 🌌
— Hailey ♡ ꙳•‧͙ (@HaileyEira) July 9, 2024
Last year, I had an idea for a level set in a cyberpunk city with Y2K vibes for Marble Blast Ultra, but life got so busy and I didn't get around to finishing it until today. I kept it… pic.twitter.com/1FFw3I2sYN
Have fun creating your levels! If you run into any problems, just drop by our Discord server, the community is always there to help.

Comments
No Comments